Android Studio Setup for Flutter Development
Setup Android Studio to run Flutter Applications

🔹 About Me I am an Engineer with 2+ years of experience in Software,python automation,linux server and Networking at Tata Communications. Currently, I am transitioning my career into DevOps and Site Reliability Engineering (SRE) with hands-on knowledge of Docker, Ansible, Jenkins, Git, CI/CD pipelines, and AWS Cloud. Key contributions include automating data gathering using Python (Selenium), developing and maintaining web portals with Django and PHP, and managing Linux server environments (Red Hat Enterprise Linux 8.7). My networking expertise spans complex troubleshooting and configuration of routers and switches (Juniper, Cisco, Huawei), with hands-on experience in routing protocols (OSPF, BGP), VLANs, MPLS, VPN, and SD-WAN technologies. I am passionate about automation, cloud infrastructure, and reliability engineering, and I am actively seeking DevOps / Site Reliability Engineer opportunities where I can contribute, learn, and grow. 📌 Skills: AWS | Docker | Ansible | Jenkins | Git | CI/CD | Linux | Python | Networking | Fortinet | 📌 Certifications: CCNA Cisco Fortinet Firewall NSE4 AWS Cloud Practitioner Certification Devops skillsup from GFG
Install the Flutter and Dart plugins:
After the successful installation of Android Studio, you have to install Flutter and Dart plugins. To do so follow the steps mentioned below:
Start Android Studio.
Open plugin preferences (Configure > Plugins as of v3.6.3.0 or later).
Select the Flutter plugin and click Install.
Click Yes when prompted to install the Dart plugin.
Click Restart when prompted.
Creating the application:
After installing Dart and Flutter plugins create a flutter app to check if it is working properly or not, to do so follow the steps mentioned below:
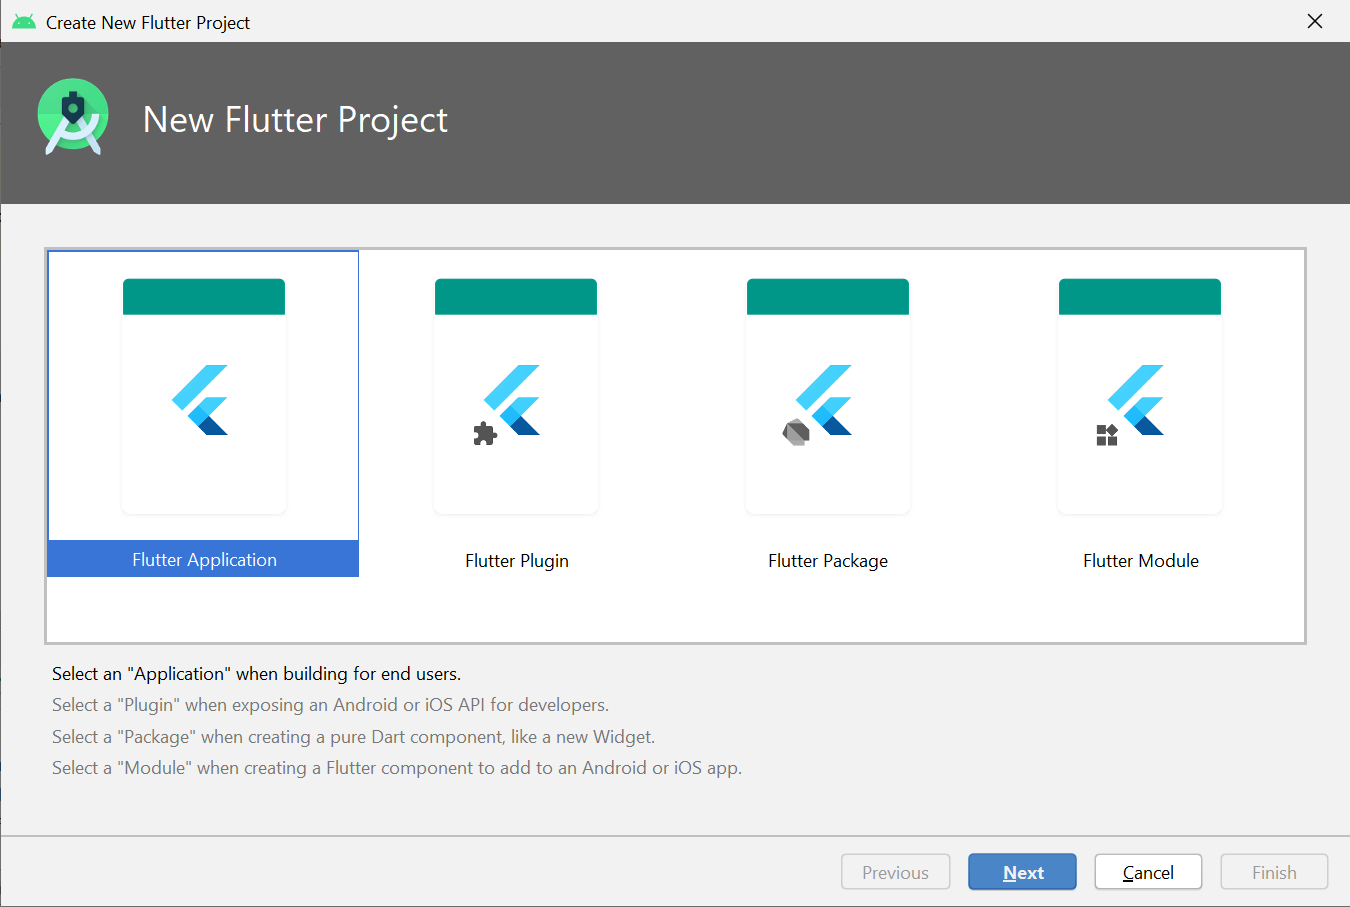
Step 1: Open the IDE and select Start a new Flutter project.
Step 2: Select the Flutter Application as the project type. Then click Next.
Step 3: Verify the Flutter SDK path specifies the SDK’s location (select Install SDK… if the text field is blank).
Step 4: Enter a project name (for example, myapp). Then click Next.
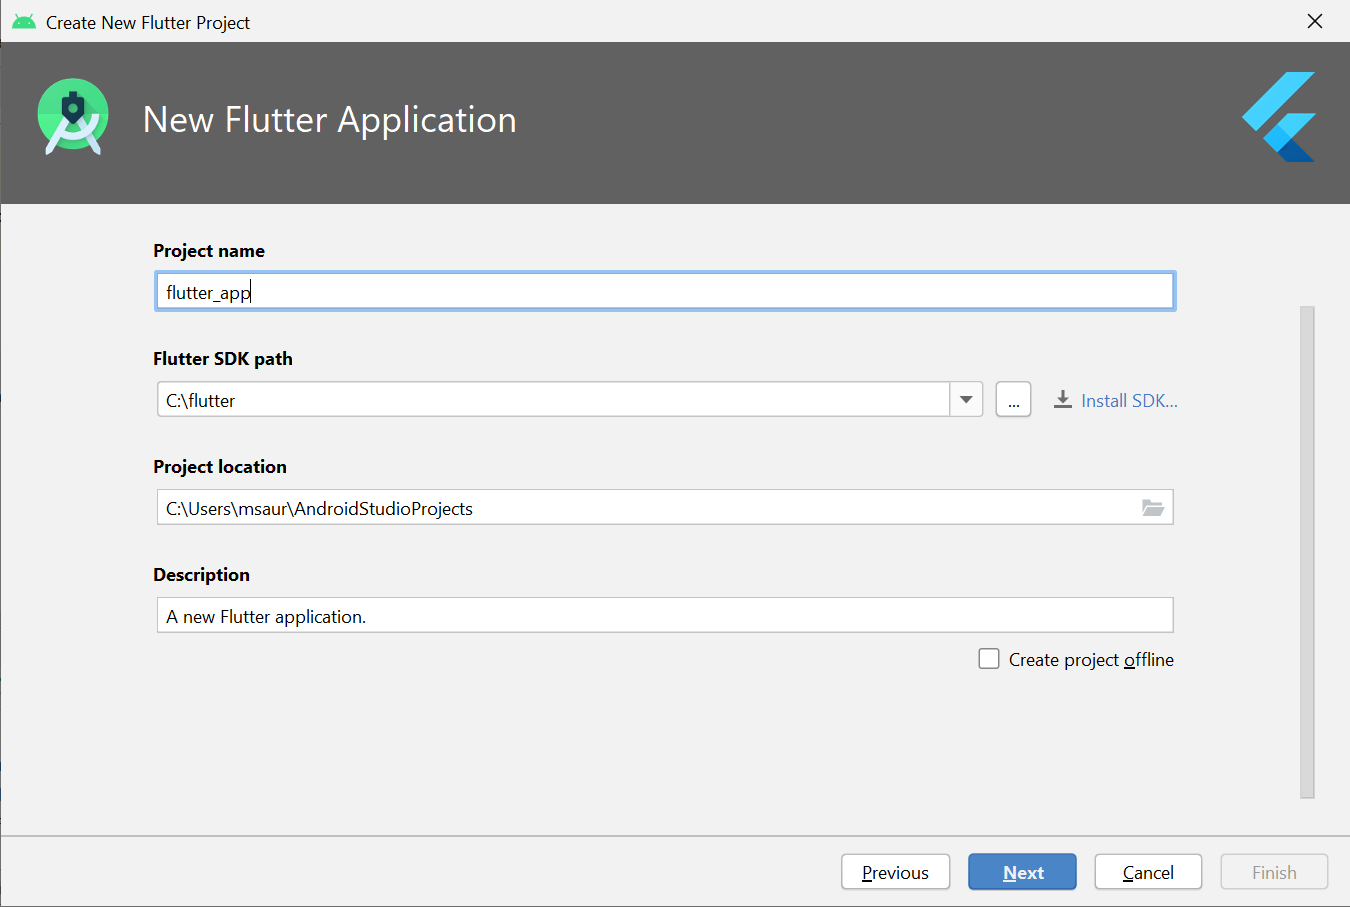
Step 5: Click Finish.
Step 6: Wait for Android Studio to install the SDK and create the project.
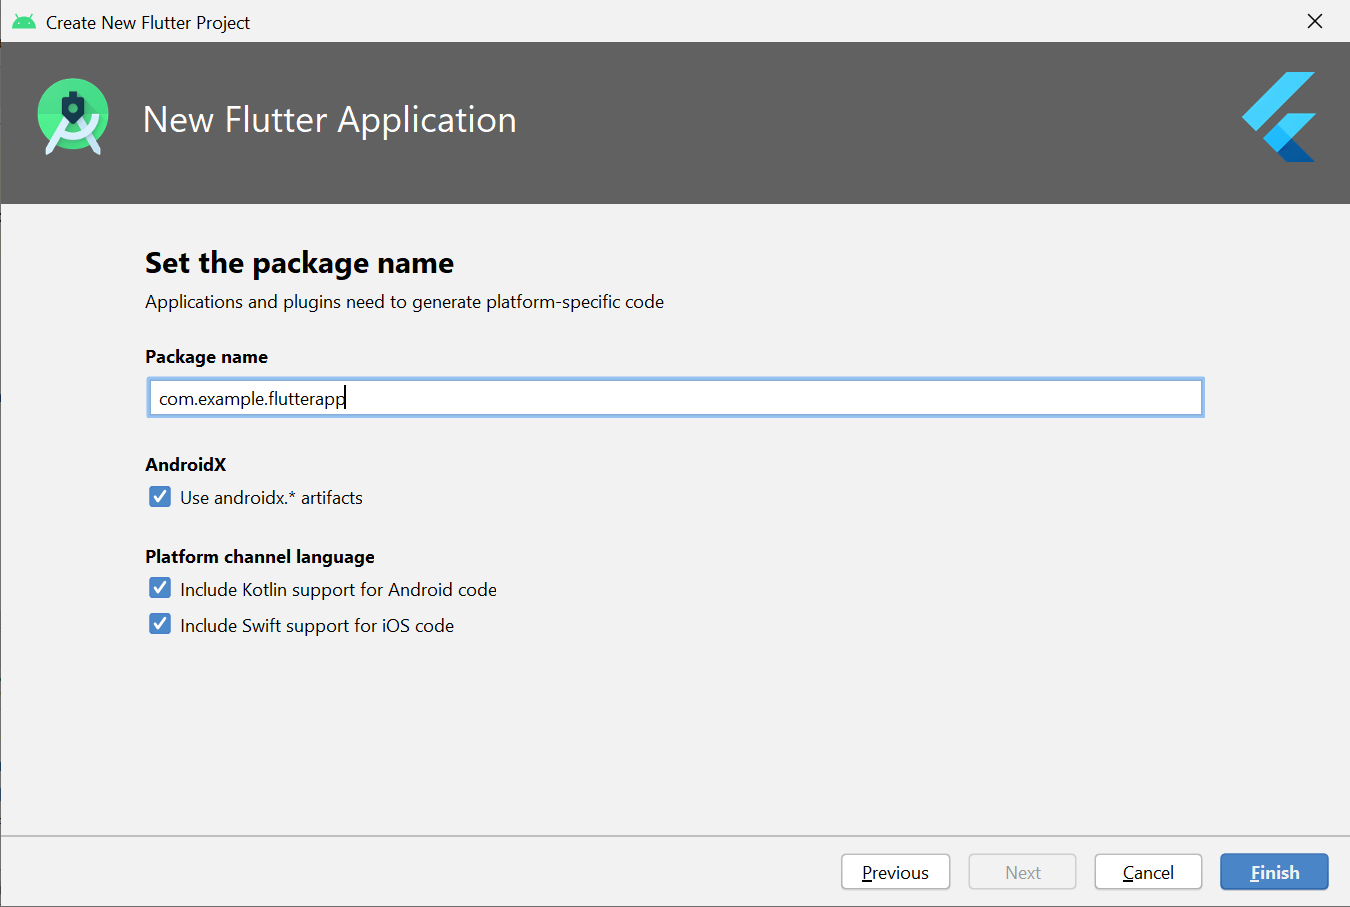
Note: When creating a new Flutter app, some Flutter IDE plugins ask for a company domain name in reverse order, something like com.example. The company domain name and project name are used together as the package name for Android (the Bundle ID for iOS) when the app is released. If you think that the app might be released, it’s better to specify the package name now. The package name can’t be changed once the app is released, so make the name unique.
The above steps create a Flutter project directory called flutter_app that contains a simple demo app that uses Material Components.
Running the application:
Follow the below steps to run the flutter application that was structured above:
Step 1: Locate the main Android Studio toolbar
Step 2: In the target selector, select an Android device for running the app. If none are listed as available, select Tools> Android > AVD Manager and create one there. For details, see Managing AVDs.
Step 3: Click the run icon in the toolbar, or invoke the menu item Run > Run.
After the app build completes, you’ll see the starter app on your device.

A Simple Hello World App using Flutter
Flutter is an app SDK for building high-performance, high-fidelity apps for iOS, Android, Web(beta), and desktop(technical preview) from a single codebase written in Dart Language. In this article, I will provide line by line explanation of how to build a simple Hello World App using Flutter.
In Flutter everything is a Widget and using predefined widgets one can create user-defined widgets just like using int, float, double we can create user-defined data type. In Flutter there are three types of widgets
Types of widgets in Flutter
Stateless Widget
Stateful Widget
Inherited Widget
In this article, we will use Stateless Widget, Material App, Center, and Text Widget
Stateless Widget: In Flutter Stateless Widget are the widgets that can not change their state, that is in Stateless Widget there is a method(function) called build which is responsible for drawing components on the screen called only once. To redraw a stateless widget one has to create a new instance of the stateless widget.
MaterialApp: It is also a widget provided by Flutter Team, which follows Google Material Design Scheme, MaterialApp is a class that has various named arguments like home: in which we pass the widget that has to be displayed on Home Screen of an App. To read more about MaterialApp check out Flutter Documentation.
Center Widget: Center is also a predefined widget by Flutter Team, which takes another widget in its child argument. Using Center Widget as the name suggests it will display Widget in its child argument in Center.'
Text Widget: The text widget is also predefined by Flutter Team, which is used to display text. Let us now build a Hello World App using Flutter.
Center(child:Widget(),),Here we are importing the package which has a definition for Stateless Widget, Center, Text, Material App, and many more. It is like #include<iostream> in C++ program.
GeeksForGeeks: It is a user Defined class that inherits Stateless Widget, that is all the property of Stateless Widget is in GeeksForGeeks
Build: It is a method that is responsible for drawing components on the Screen it takes a BuildContext as an argument that has information about which widget has to be displayed and in which order it has to be painted on the screen.
Running Application:
output:

It does not look like a Modern App, Let us add material design!
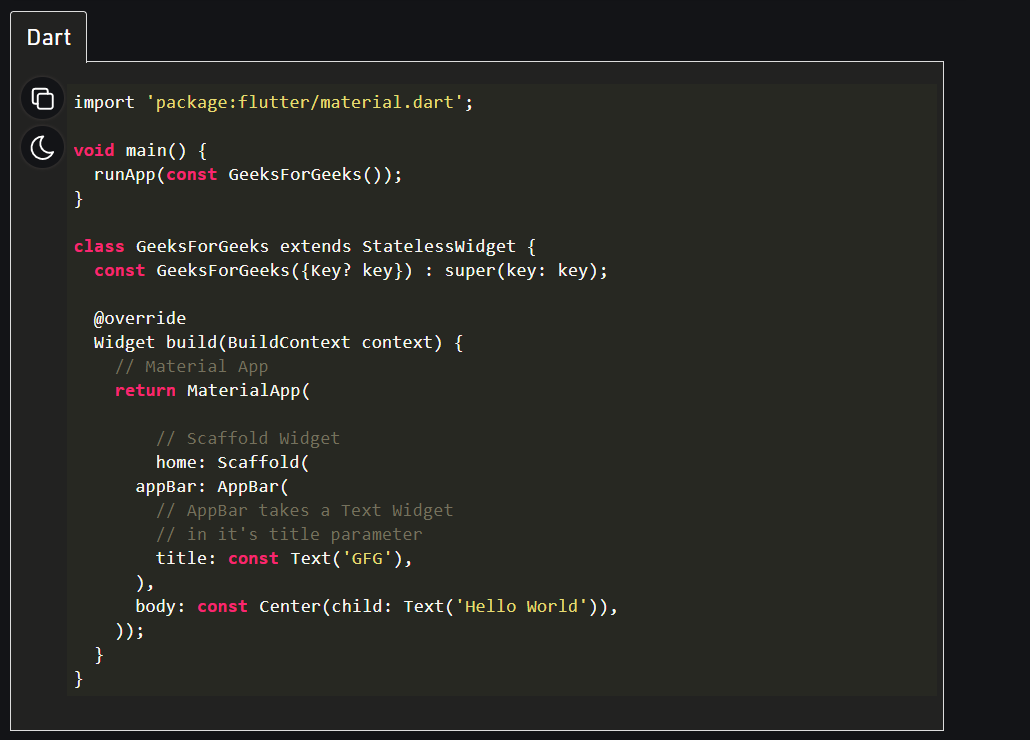
Dart
output:

Output explanation: In the first line we have imported the material design library which will be used in this app. Then we have our main function. This is the point where the code execution will start. Then we have the class ‘GeeksForGeeks’ which is extending the StatelessWidget. This is basically the main widget tree of our ‘hello world’ app. All this is followed by the build method, which is returning a MaterialApp widget. Then we have employed home property of the MaterialApp, which in turn is holding the Scaffold widget. The Scaffold widget is containing the whole screen of the app. We have used the appBar property which is taking the AppBar widget as the object. And in turn, the AppBar widget is holding ‘GFG’ as the title. Then we have the body, which is again the property of the MaterialApp. Center is the object of the body and its child is Text widget which reads ‘Hello World’.


